As a cybernetician, you are the creator of motion. You instruct robots to move with ease, speed, and consistency. However, what occurs when that motion intersects with the unpredictable real world? What occurs when your intended path encounters a slight deviation, a malleable component, or an anomalous human interaction? This is the area where the vision systems have a shortfall, and where your robotic system needs to have additional capabilities than just the ability to see. It’s necessary to have a sense of contact.
The 6-axis force sensor that is located at the tip of the arm is called the Force Torque Sensor. This component provides the essential sensation of pressure. It’s the technology that enables a robotic automaton to become “seeing”, “listening”, and “operating”, all in a single step. This technology is also responsible for making a robotic automaton more intelligent and versatile.
However, selecting and implementing a 6-axis force sensor with a torque of 0.6 is not as simple as picking a component from a shelf. It’s a decision that involves careful consideration of your application, the technical specifications of the sensor, and the intricacies of system integration. Making the wrong choice can lead to a series of problems: a sensor that is overburdened and damaged, data that is too imprecisely transmitted, or a mechanical integration that impairs the robot’s capabilities.
Torque Profile – The Most Critical Step
Before you can even look at a datasheet, you must answer the most fundamental question: What forces and torques do you actually need to measure? This is, without exaggeration, the single most important step in selecting a 6-Axis Force Torque Sensor.
The temptation is to guess, but guessing is a recipe for failure.
- If you choose a range that is too low, A single unexpected impact or even the robot’s own acceleration can permanently damage the sensor. An overloaded sensor is a dead sensor.
- If you choose a range that is too high, you sacrifice resolution. A sensor with a 1000N range will struggle to accurately measure a subtle 0.5N force. It’s like trying to weigh a feather on a truck scale.
How to Determine Your Range:
- Analyze the Task: Break down the robotic task into its individual steps. For an assembly task, what is the expected insertion force? For a grinding task, what is the target contact force? Consider both static forces (e.g., holding a weight) and dynamic forces (e.g., the impact of making contact).
- Account for Everything: Remember that the 6-Axis Force Torque Sensor measures everything, including the weight of the end-effector (gripper, tool) attached to it, as well as the dynamic forces created by the robot’s own movement (inertial forces). These must be factored into your required measurement range.
- When in Doubt, Test: This is a piece of advice we give to all our clients. If the range cannot be determined theoretically, the best practice is to select a sensor with the largest available range for initial testing. Mount this rugged sensor on your robot, run the application, and log the data. This real-world data will definitely show you the peak and operational forces involved. You can then confidently select a lower-range, higher-resolution 6-Axis Force Torque Sensor perfectly suited for your production environment.
Only once you have a clear understanding of your required Fx, Fy, Fz, Tx, Ty, and Tz ranges can you proceed to the next step.
Consider the Physical Integration – Size, Weight, and Mounting
A 6-Axis Force Torque Sensor is a physical component that will be mounted between the robot’s wrist and its end-of-arm tooling (EOAT). Its physical characteristics are just as important as its measurement capabilities.
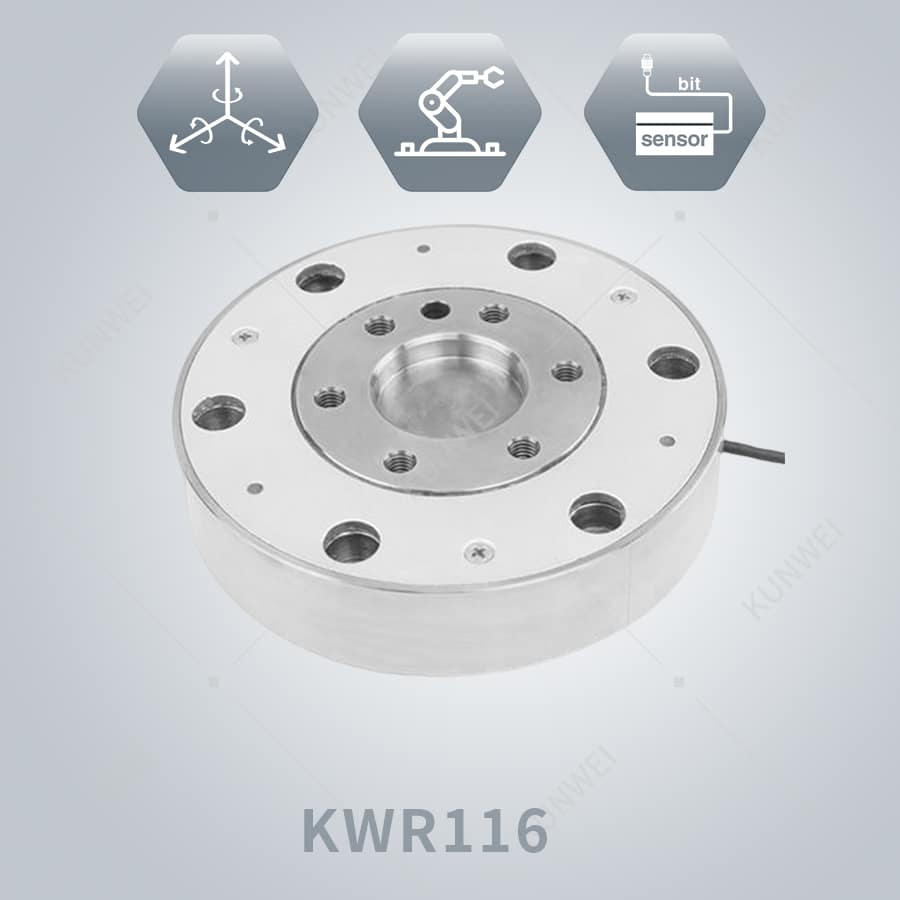
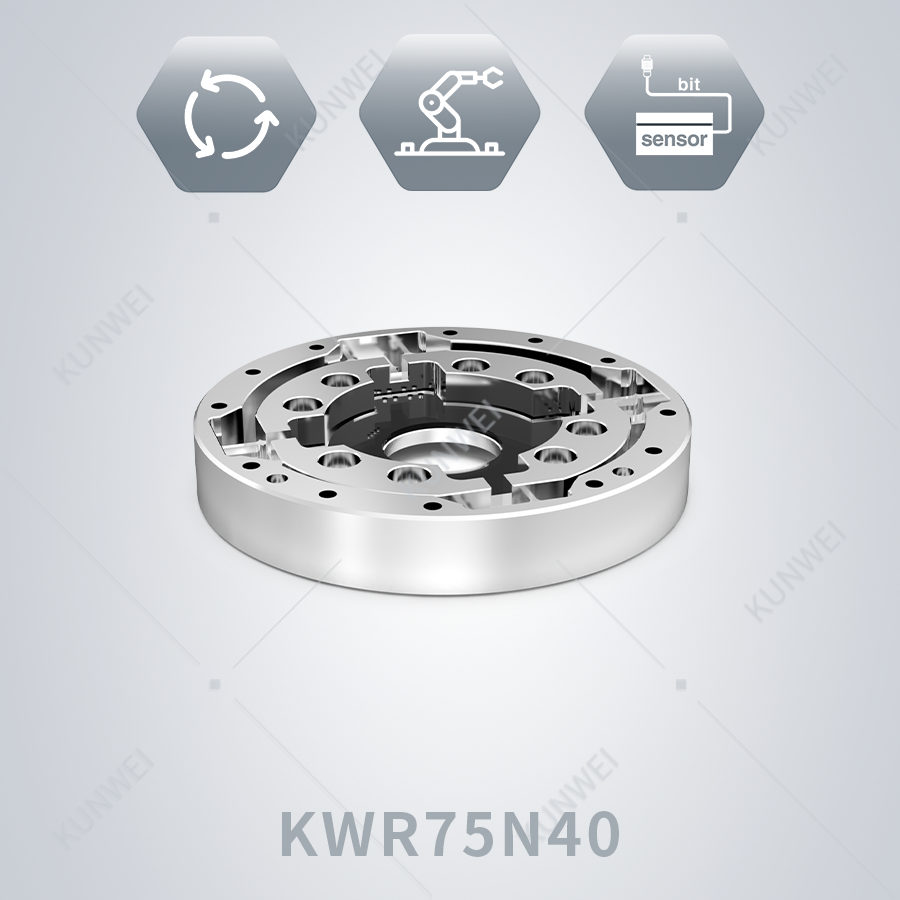
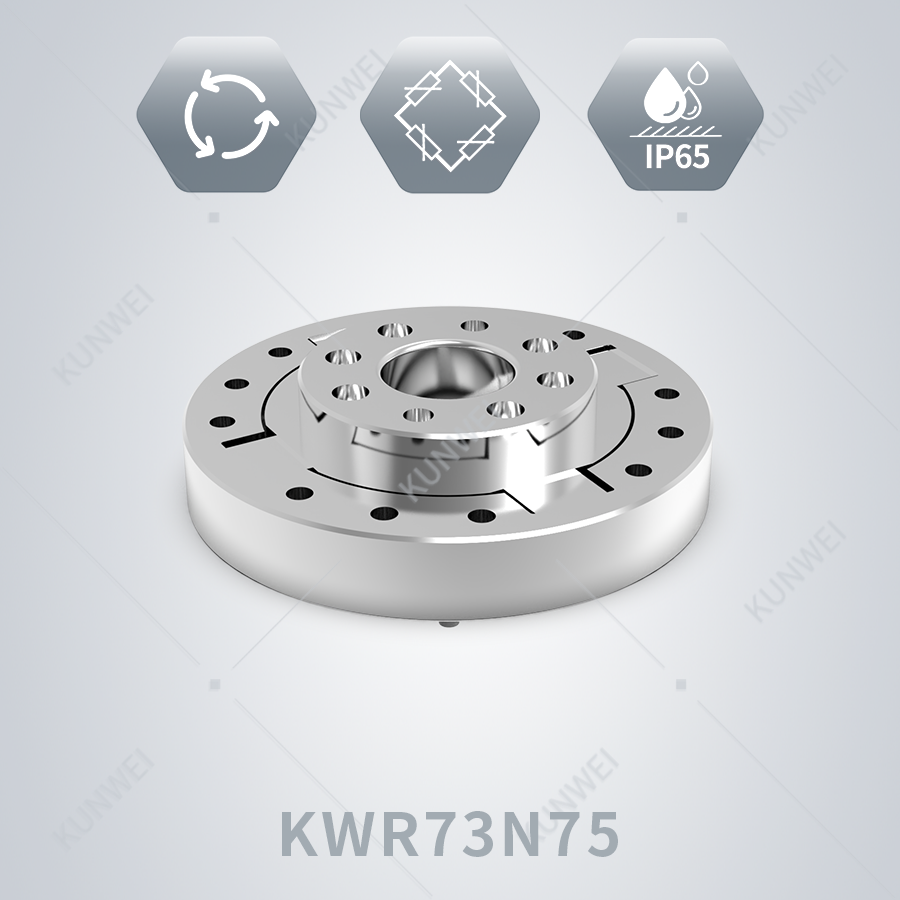
- Diameter and Height: The sensor adds to the overall length and profile of the robot arm. A bulky sensor can limit the robot’s ability to reach into tight spaces or create potential collision points. This is where compact designs offer a significant advantage. For example, the KWR63 series, with its diameter of 63 mm and a height of just 20 mm, is specifically designed to be as unobtrusive as possible. Its outer diameter is close to that of the end flange of most collaborative robots, allowing for a seamless, streamlined integration.
- Weight: Every gram you add to the end of the robot arm reduces its effective payload capacity. A lightweight sensor is crucial. High-end sensors, like the KWR63, often use aerospace-grade aluminum alloy to achieve an optimal balance between low weight and high strength.
- Mounting Pattern: The sensor must physically bolt onto both the robot’s wrist flange and your chosen tool. Ensure the sensor’s mounting hole pattern is compatible with the ISO standard used by your robot manufacturer. A professional supplier will provide detailed mechanical drawings showing these patterns and dimensions.
Actionable Tip: When evaluating a 6-Axis Force Torque Sensor, always request the 3D CAD model. This allows you to place it in your virtual workcell to check for any potential collisions or reach issues before you purchase.
Choose the Right Communication Protocol – How the Sensor “Talks”
The sensor’s job is to convert physical forces into digital data. How that data gets from the sensor to your robot controller, or PC, is determined by its communication protocol. This is not a one-size-fits-all situation.
A versatile 6-Axis Force Torque Sensor system will support a wide range of protocols. Let’s look at the most common ones:
- Serial (RS422, RS485): This is a robust and reliable choice for many industrial environments. The KWR63 sensor itself outputs a digital signal using these protocols. RS422/RS485 uses differential signaling, which makes it highly resistant to electrical noise and allows for long cable runs—a huge advantage in a factory setting.
- CAN (Controller Area Network): This is a common bus protocol used in robotics and automotive applications. It’s known for its reliability and real-time capabilities. If your robot controller has a native CAN interface, a sensor that can communicate via CAN is often the most direct and efficient integration path.
- Industrial Ethernet (EtherNet/IP, PROFINET, EtherCAT): For applications requiring very high data rates and tight synchronization with other factory devices (like PLCs), an Industrial Ethernet protocol is the gold standard. A high-performance 6-Axis Force Torque Sensor system will offer this, often through an external interface box.
- USB: For laboratory, research, and development work, a USB interface offers the simplest plug-and-play connection to a PC for data logging and analysis.
The Role of the Converter Box:
It’s important to understand that a complete 6-Axis Force/Torque Sensor system often consists of three parts: the transducer (the sensor body), interface electronics, and cabling. As our KWR63 sensor outputs a direct digital signal, if you need other communication protocols like CAN or Industrial Ethernet, it can be equipped with a converter box. This box acts as the “translator,” taking the sensor’s native signal and converting it into the protocol required by your host system.
Actionable Tip: Before selecting a sensor, confirm the communication interfaces available on your robot controller or data acquisition system. This will determine your primary integration path and whether a converter box is needed.
The Key Performance Specifications – Reading Between the Lines
When you look at a datasheet for a 6-Axis Force Torque Sensor, you’ll see a list of technical specifications. Here are three of the most important ones and what they mean for your application in practical terms.
- Overload Capacity: This tells you how much force or torque the sensor can withstand beyond its measurement range without being permanently damaged. A sensor with high overload capacity is more “rugged” and forgiving. It provides a crucial safety margin against accidental impacts or programming errors. For example, a sensor with a 500% overload capacity can withstand five times its rated force, which is a huge advantage in a dynamic industrial environment.
- Rigidity (Stiffness): This measures how much the sensor body itself deforms when under load. A sensor with high rigidity is extremely stiff. Why is this important? Because any deformation in the sensor translates to a positioning error at the end-of-arm tool. For high-precision tasks like micro-assembly or fine polishing, a high-rigidity 6-Axis Force Torque Sensor is essential to maintain the robot’s positional accuracy.
- Sensitivity / Resolution: This defines the smallest change in force or torque that the sensor can reliably detect. High sensitivity is critical for applications that require a delicate touch, such as product testing (e.g., measuring the click-force of a button) or handling fragile objects.
These three characteristics—overload, rigidity, and sensitivity—are often in opposition. The art of designing a great 6-Axis Force Torque Sensor, like the KWR63, is in finding the optimal balance between them.
Leverage Professional Support – You Are Not Alone
The final step that is perhaps most ignored in the selection and integration process is to take advantage of your supplier’s expertise. You’re not simply purchasing a product; you’re also funding a potential capability. A trustworthy supplier will function as a partner, rather than just a merchant.
As our own philosophy indicates, we have a highly successful sales and engineering team that combines their service experience with a comprehensive understanding of client needs. A genuine partner will collaborate with you in a technical capacity:
- They will start by understanding your product usage scenarios.
- They will ask about the installation location and the size of the mounting surface.
- They will help you verify the force range required.
- They will confirm the communication protocol your equipment supports.
Based on the holistic perspective, they will help you find the appropriate product and will support you during the integration process. Don’t be hesitant to utilize this resource. A 30-minute discussion with an experienced engineering professional can help you avoid days or even weeks of troubleshooting near the end.
From a Simple Component to an Intelligent System
Selecting and combining a 6-axis force sensor with intelligence is a journey that changes a simple robotic system into an intelligent one. It’s a procedure that involves careful consideration of your application’s specific requirements, a comprehensive understanding of the sensor’s capabilities, and a partnership with your supplier that is collaborative.
Following this procedure, which is step-by-step based on the following information, you can define your force profile, consider the physical appearance, choose the appropriate communication path, comprehend the key specifications, and utilize expert assistance. This will lead to a successful outcome. You’ll have the ability to choose a 6-axis force sensor that not only meets your technical requirements but also unleashes a new realm of potential for your robotic endeavors, making them more intelligent, efficient, and safe.